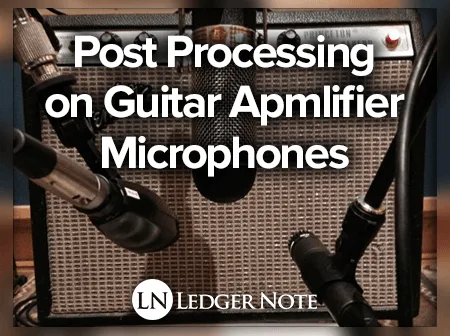
We received a very insightful question recently that requires some critical thinking to explain the answer. You’ll enjoy this guitar amp mic one if you like puzzles, especially as a studio engineer and/or guitarist.

As always, let me thank a couple readers for their help. Frederick notified us of an error in our mp3 compression article and Pepsy supplied us with a picture we needed for another article. Much thanks! Now let’s get to the question.
Guitar Amp Mic Recordings Are Flat, Boomy, & Bassy
Question:
Just wanted to respond to your thought-provoking articles on the proximity effect and other instrument miking articles about placing the mic at least 12″ from the source (in this case, my guitar amplifier). What I struggle to understand is, it is common knowledge that most pros stick an SM57 either very close to or right up on the grill and they get amazing sounds.
In fact, putting an SM57 mic right on the grill of the guitar amp, at the center of the speaker, is often referred to as the go-to position for recording electric guitar. Whenever I do it at home, however, all I get is a flat and boomy, bassy tone, regardless of where on the cone I place the mic.
How do the pros place the mic that close to the speaker and still get such bright classic metal tones with no excessive proximity effect? Any insight would be helpful.
Thank you,
Davor
Answer:
Davor, thanks for writing in. First and foremost, the main reason close miking is done on guitar amps is to block out other noises and instruments by maintaining a higher signal-to-noise ratio.
If you’re in a controlled recording environment and punching in or dubbing your guitar you don’t have to do this. On stage or in a live-band recording situation where everyone is in the same room, this can help big time.
But as you’ve mentioned this doesn’t produce the best raw sound without some mixing tricks and post-processing in general. Below are a few suggestions about what’s going on and how you can achieve a professional sound using the same methods.
Equalization
Without a doubt, these recordings are being heavily processed with equalization. I would apply a high pass and a low pass filter. This will help you manage the gain as well as remove extraneous sub-bass and the noise floor.
Look at running your low pass filter (high cut) down to somewhere between 10 kHz to 14 kHz, possibly higher. You’re just trying to knock some of the sheen off, cut out any cymbal noise from the drummer, and make room for other high frequency instruments and vocals.
With your high pass filter (low cut), depending on how much bass you want, play with the Q so you don’t roll-off too steeply and slowly move the threshold up until you’ve dropped out enough bass to reduce the boomy sound.
A lot of that “boom” and “mud” occurs from 250 Hz to around 600 Hz, so you may play with cutting in that region some too if needed, especially if your room has no acoustic treatment. Guitar hangs in the same registers as vocals in terms of intelligibility and presence, so test a slight boost around 2 kHz up to 5 kHz as your center frequencies with a wide Q.
Compression
With compression on metal guitars, especially in our present generation of mixing preferences, you will want to squash the track pretty good. Consider a 5:1 with a lower threshold or even 10:1 ratio with a higher decibel threshold.
Since it sounds like you’re talking about lead guitar, what you want to play with is a slower attack so the attack of the notes can still come through, which helps human ears grab onto the sound and make sense of it. A faster release is fine but not too fast.
Multiple Guitar Amp Mics
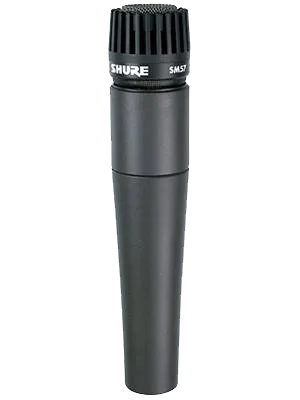
You’ll see a lot of information about close miking right up on the grill, but many engineers will track a guitar with two microphones or more, with one placed further back. I’d use a dynamic mic, as you’ve suggested like the Shure SM57 or SM58, and then use a condenser mic further back several feet.
If your room is treated well, you won’t get excessive reverb. You’ll have to test this at various distances based on your room, though. Bigger rooms may have less noticable, but longer reverbs or delays.

You can then combine these two tracks, treated differently in terms of mixing, at appropriate levels to achieve the tone you want. You can compress the distant one less, only use reverb on the condenser mic track, etc. Experiment! There’s no right way, just whatever ends up sounding good.
Record Off-Axis
Finally, for your dynamic mic right up on the grill, you can reduce some of the boomy bass and proximity effect by recording off-axis. What that means is you may have the diaphragm of the mic situated about halfway out past the center of the cone and tilted in at 45 degrees or even less.
This will help drastically to reduce bass since the sound pressure levels will be less high and pass more parallel to the mic than perpendicularly. Mic placement is everything, and every tiny movement matters.
I hope this helps. Let us know how you get on with it.
Jared